Replacement
A: ON-CAR SERVICE1) Joints and connections
Check for any looseness of yoke flange connecting bolts and center bearing retaining bolts.

2) Splines and bearing locations
Turn propeller shaft by hand to see if abnormal free play exists at splines. Also move yokes to see if abnormal free play exists at spiders and bearings.
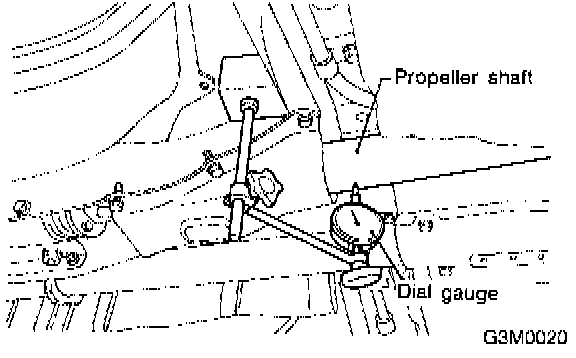
3) Runout of propeller shaft Turn rear wheels by hand to check for "runout" of propeller shaft.
NOTE: Measure runout with a dial gauge at the center of front and rear propeller shaft tubes.
Runout: Limit 0.6 mm (0.024 inch)

4) Center bearing free play
While holding propeller shaft near center bearing with your hand, move it up and down, and left and right to check for any abnormal bearing free play.
B: REMOVAL

NOTE:
- Before removing propeller shaft, wrap metal parts with a cloth or rubber material.
- In case of DOJ type, before removing propeller shaft, wrap metal parts (installed at the rubber boot of center DOJ) with a cloth or rubber material, as shown in the figure. Rubber boot may be damaged due to interference with adjacent metal parts while bending the DOJ during removal.
1) Disconnect ground cable from battery.
2) Move selector lever or gear shift lever to "N".
3) Release the parking brake.
4) Jack-up vehicle and support it with sturdy racks.
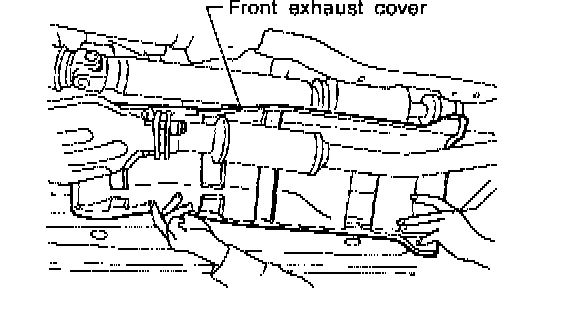
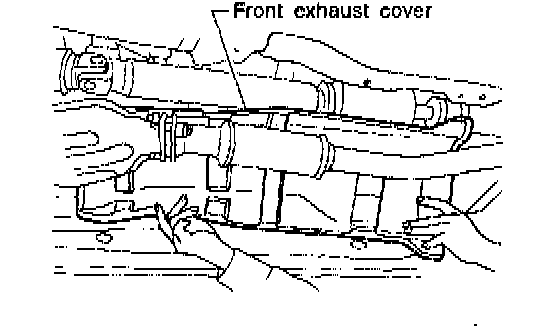
5) Remove front exhaust cover.

6) Remove differential mount front cover.
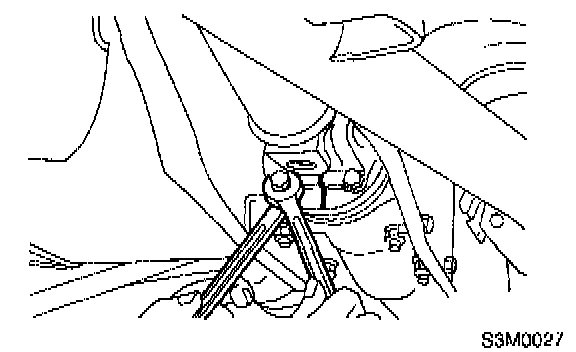
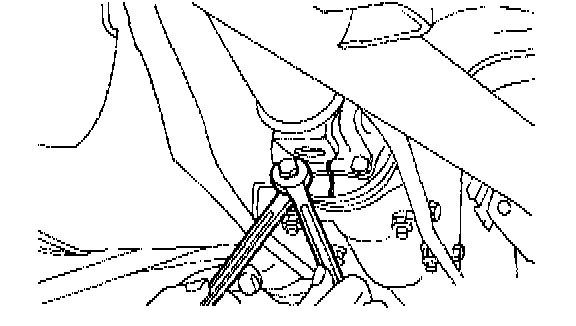
7) Remove the four bolts which hold propeller shaft to rear differential.
NOTE:
- Put matching mark on affected parts before removal.
- Remove all but one bolt.
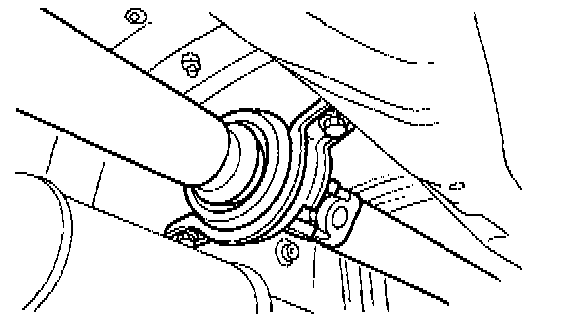
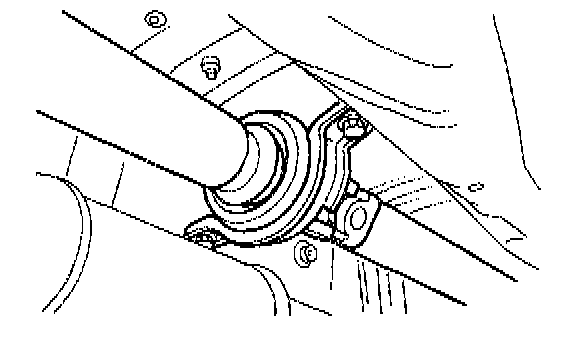
8) Remove the two bolts which hold center bearing to vehicle body.

9) Remove propeller shaft from transmission.
CAUTION:
- Be sure not to damage oil seals and the frictional surface of sleeve yoke.
- Cover the center exhaust pipe with a cloth because ATF or oil may be spilled from transmission, when removing propeller shaft.
NOTE:
- Be sure to use an empty oil can to catch oil flowing out when removing propeller shaft.
- Be sure to plug the opening in transmission after removal of propeller shaft.
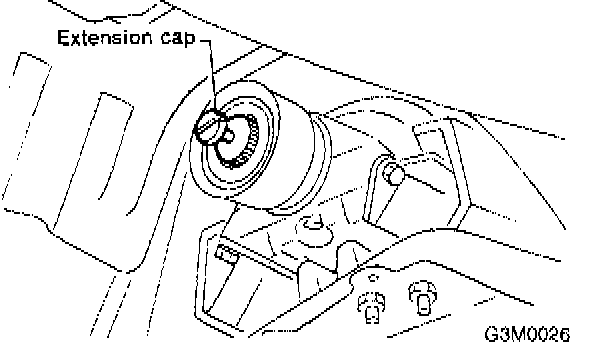
10) Install the extension cap to transmission.
C: DISASSEMBLY AND ASSEMBLY
NOTE: Do not disassemble propeller shaft. It is a single unit.
D: INSPECTION
NOTE: Do not disassemble propeller shaft. Check the following and replace if necessary.
1) Tube surfaces for dents or cracks
2) Splines for deformation or abnormal wear
3) Joints for non-smooth operation or abnormal noise
4) Center bearing for free play, noise or nonsmooth operation
5) Oil seals for abnormal wear or damage
6) Center bearing for breakage or damage to rubber boot
E: INSTALLATION
NOTE: e careful not to damage rubber boot (installed at DOJ) while installing propeller shaft.
1) Insert sleeve yoke into transmission and attach center bearing to vehicle body.
Tightening torque: 52±5 Nm (5.3±0.5 kg-m, 38.3±3.6 ft. lbs.)
2) Align matching marks and connect flange yoke and rear differential.
Tightening torque: 31±8 Nm (3.2±0.8 kg-m, 23.1±5.8 ft. lbs.)

3) Install differential mount front cover.
Tightening torque: 88±10 Nm (9.0±1.0 kg-m, 65±7 ft. lbs.)
4) Install front exhaust cover.
5) Install rear exhaust pipe and muffler.